/
/
Reading Mode
Clean editorial style with drop caps, pull quotes, and refined typography
One Year, 500+ Parts and a Lot of Filament! Follow my year-long journey printing a massive LEGO-inspired Christmas tree across 5 Bambu Lab printers. See the challenges, the hiccups, and what I learned along the way.
One Year, 500+ Parts and a Lot of Filament
Follow my year-long journey printing a massive LEGO-inspired Christmas tree across 5 Bambu Lab printers. Here are the challenges, the hiccups, and what I learned along the way.
I started this project on a whim—inspired by Ellis Ware’s incredible Giant Brick Christmas Tree design on MakerWorld. When I first saw the files, I thought: “Could I actually do this?” The answer was yes. (But it took an entire year.)
This wasn’t a weekend project. This was a commitment to push my 3D printing setup to its limits and see what was possible when you dedicate serious time and resources to a single creative vision.
“The year-long build taught me patience, planning, and the power of distributing work across multiple printers.
Project By The Numbers
Successful 3D printing requires strategic planning and adaptability.
To make this work, I needed to think strategically. I couldn’t rely on a single printer—I’d be waiting years. Instead, I added to my arsenal of printers in 2025 so I could be more efficient:
Printer 1: Bambu Lab X1C, used for core parts.
Printer 2: Bambu Lab A1, used for smaller parts.
Printer 3: Bambu Lab A1 Mini, helped speed up production.
Printer 4: Bambu Lab H2D, used for experimentation and advanced techniques.
X1C: Used for core green parts.
A1: Provided speed boost for smaller parts.
A1 Mini: Essential for quick production.
H2D: Experimented with additional features.
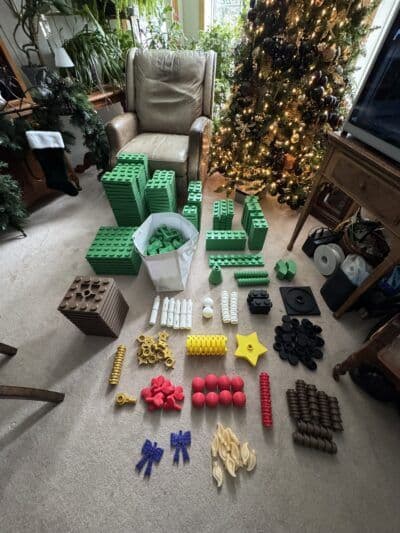
Polymaker PLA Pro Green was used for the bulk of the tree; chosen for its extra strength and durability. The ornaments are PLA as well but vary in company such as Bambu Lab, Polymaker, and ERYONE.
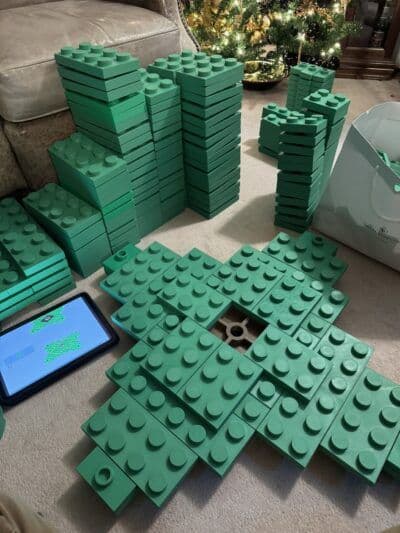
This project involved over 500 parts and significant investment in time and resources.
Carefully choosing your color palette can significantly enhance the visual appeal of your project.
I printed in eight primary colors—each carefully chosen to bring the tree to life. (Palette shown on the original post.)
Over twelve months I printed, sanded, and tracked more than 500 pieces. Here’s a snapshot of the journey broken down by quarter:
Started with the core green parts on the X1Cs I had at the time.
Getting access to my A1 and the A1 Mini gave me a speed boost on smaller parts like the baubles and flowers.
Okay… here I might have slacked off a bit, printing so many other things and experimenting with my new H2D and its laser.
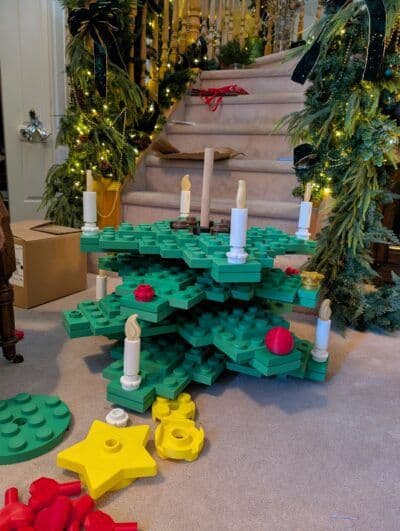
The final countdown! I had around 60% of it done and had to blast out the rest. All printers were running for 3 weeks straight leading up to the build.
The total cost of the project was a bit higher than I had anticipated. However, factors like selecting PLA Pro for the bulk of the printing raised cost—but for the right reasons.
With 34k grams of filament for the project, this leaves around 34 × 1000g spools.
*Estimate based on filament assumptions above.
Consider recycling failed prints into your next project! It's a great way to minimize waste.
Even with careful planning, failed prints happen. I accounted for approximately 10% waste in my pricing formula.
Keep a box of failed pieces and consider recycling them into other projects! I use silicone molds and melt the scraps in the oven to create unique items people love!
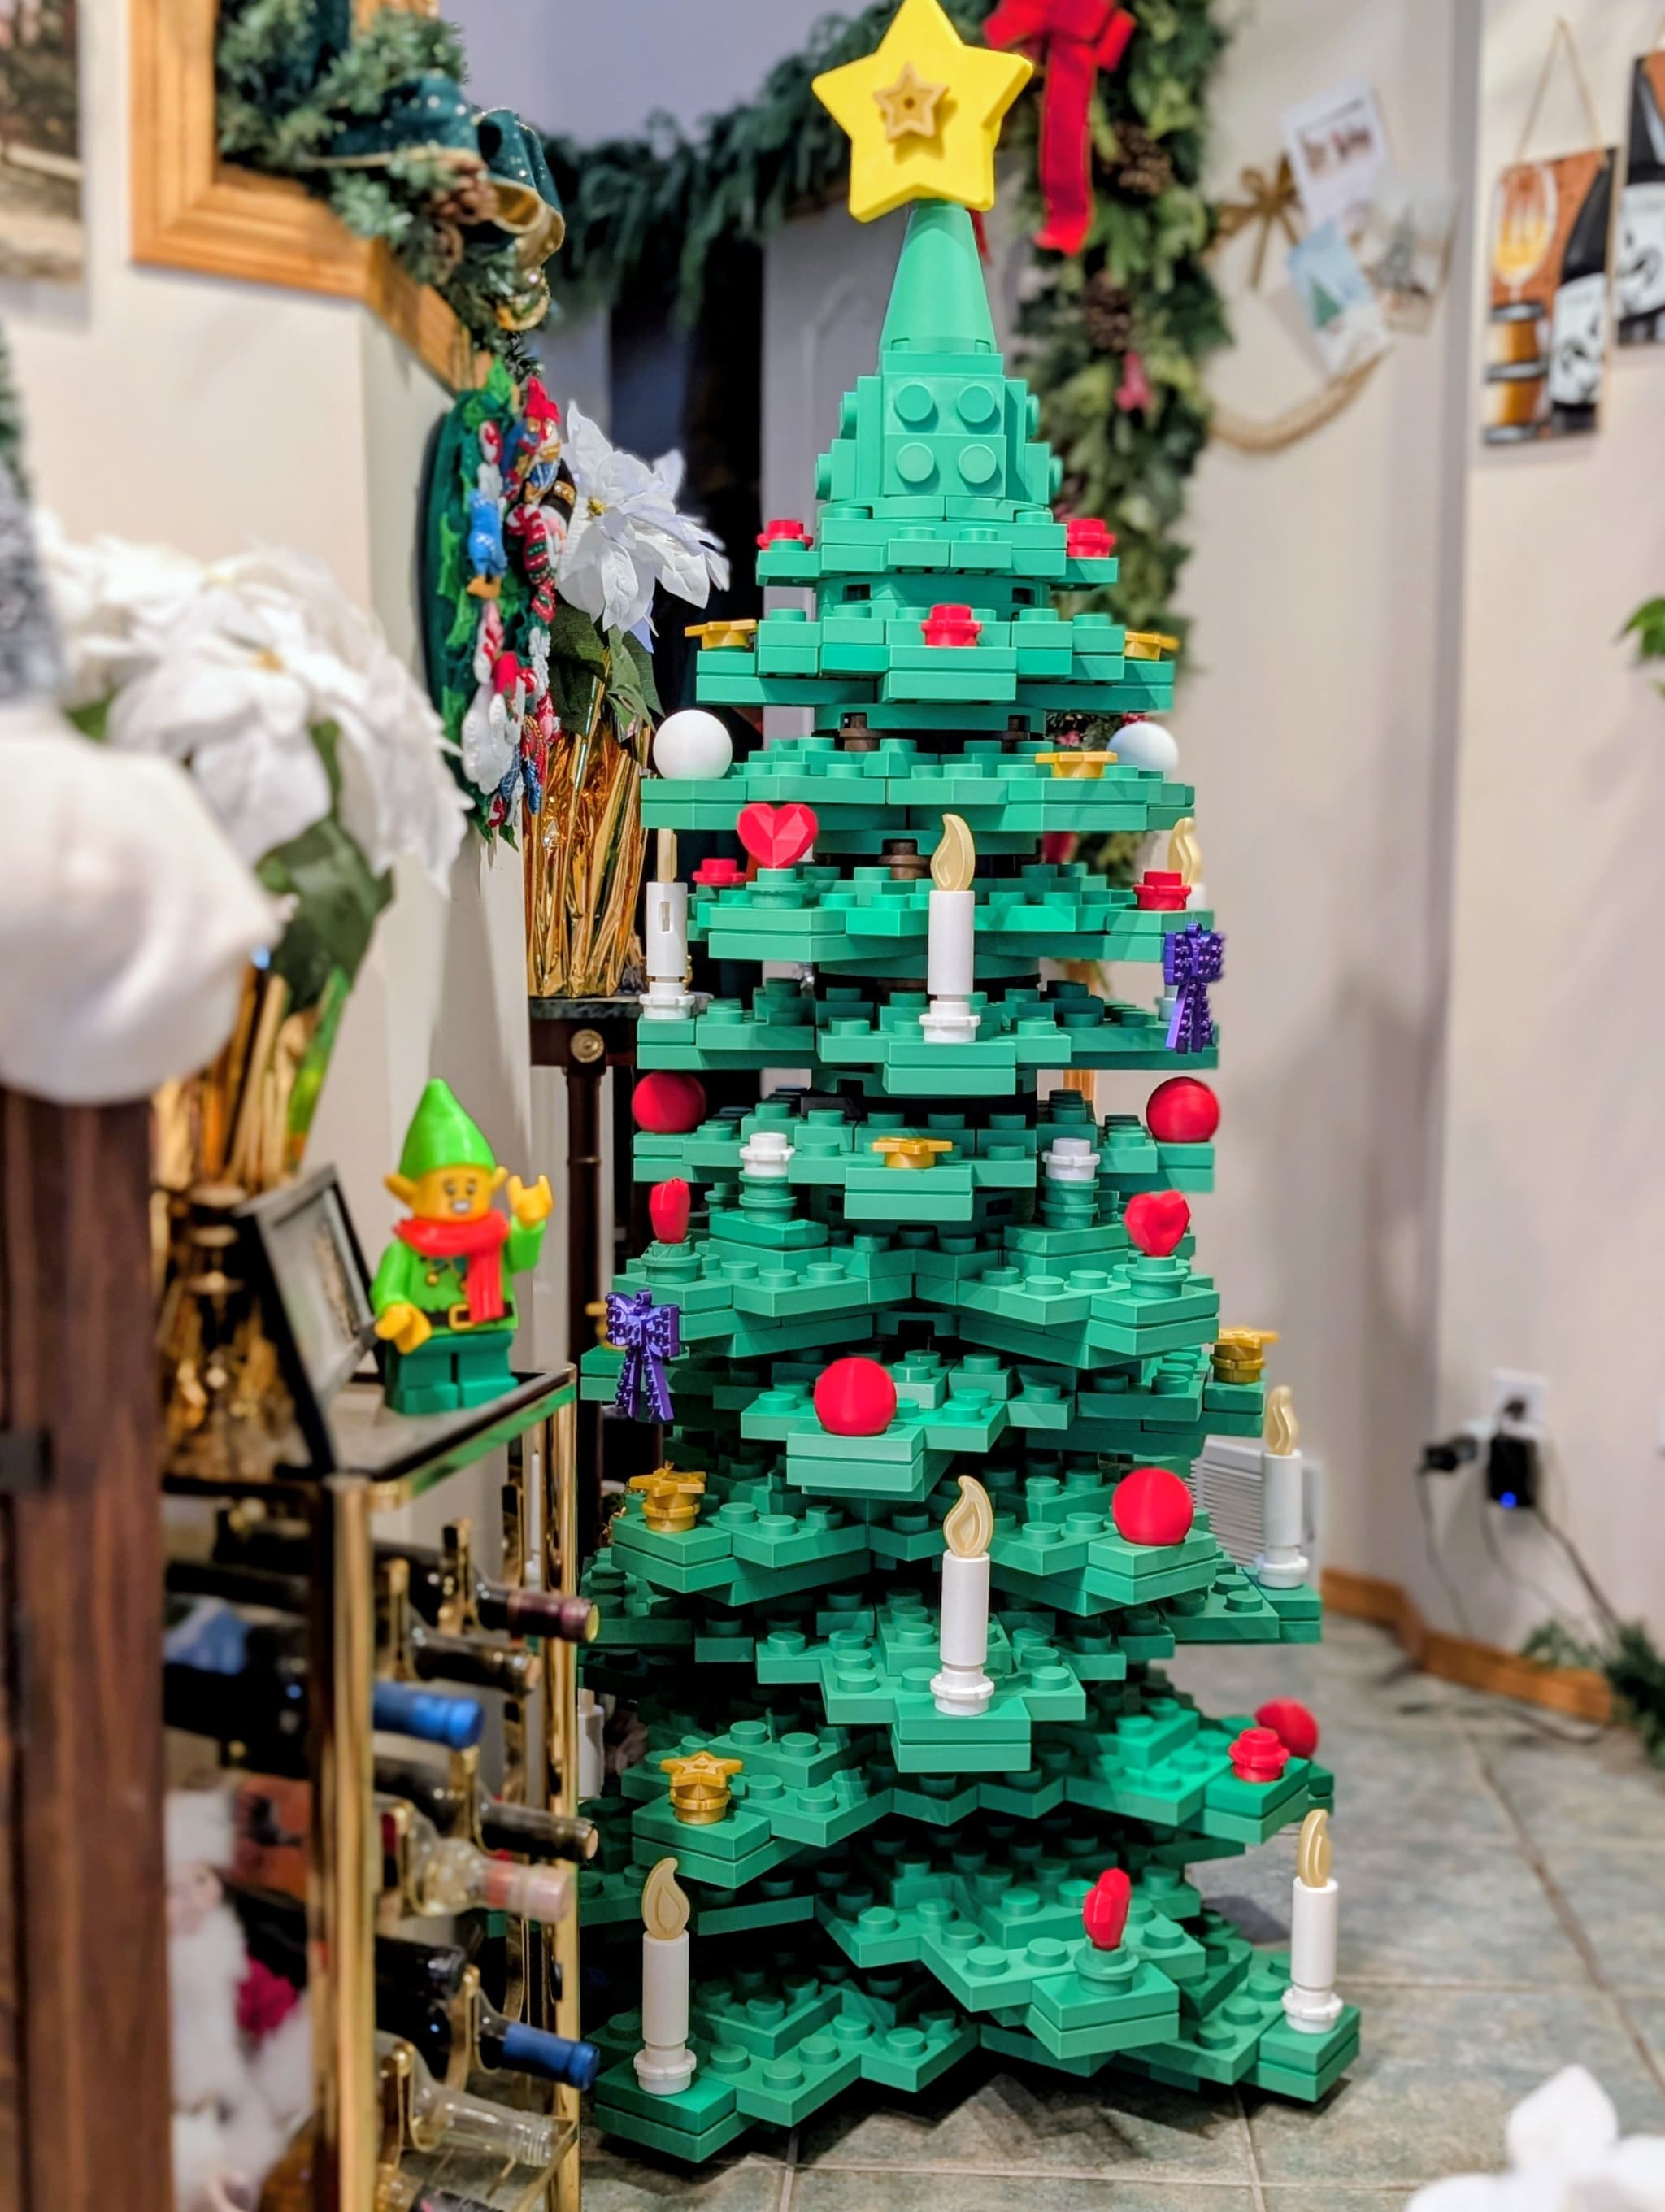
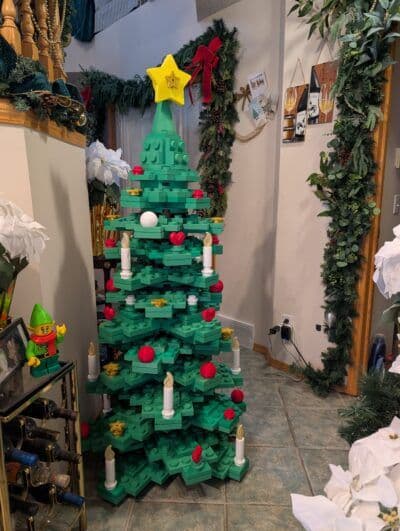
Finally putting it all together was surreal. Seeing all the pieces snap into place and watching the tree come to life in my home—that was the moment it all became real. I added my own Christmas flair to make it feel uniquely mine.
Looking Ahead: Explore new designs and techniques in future 3D printing projects!
To Ellis Ware and Ruth Amos for the incredible design and for sharing the journey publicly. To the Bambu Lab community for the support and inspiration. And to everyone following along—your encouragement kept me printing!